
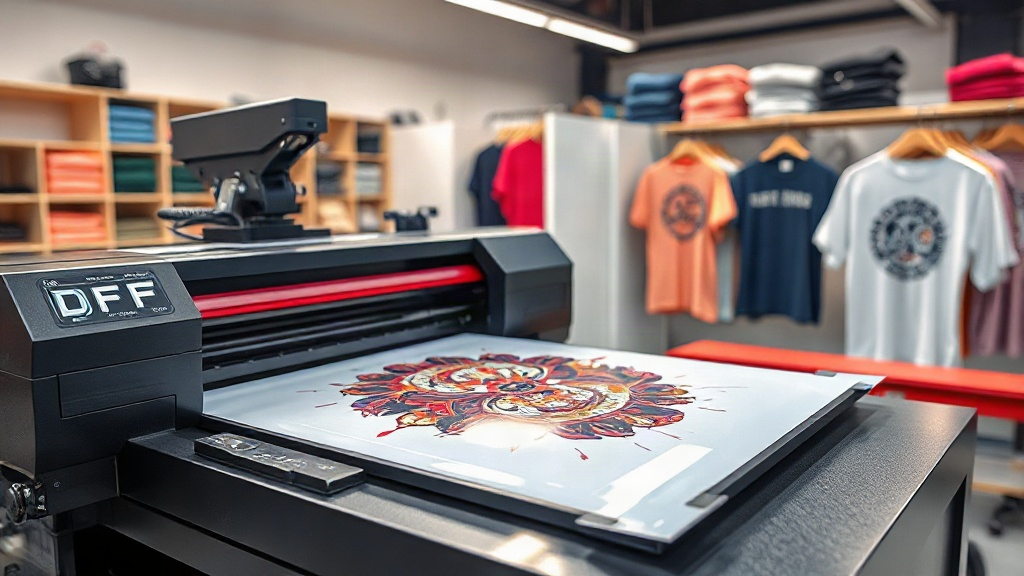
Imagine being able to print full-color, detailed designs onto almost any fabric without the hassle of weeding or the limitations of traditional screen printing. That's the promise of DTF printing, a digital printing technology that's rapidly gaining popularity among crafters, small business owners, and DIY enthusiasts. Whether you're looking to create custom t-shirts for your brand or personalized gifts for friends, DTF printing offers a versatile and cost-effective solution.
In this guide, we'll walk you through everything you need to know about DTF printing, from the basic principles to the step-by-step process, and share practical tips to help you achieve professional results at home.
What is DTF Printing?
DTF stands for Direct-to-Film. It's a printing method where your design is printed onto a special PET film using water-based pigments, then coated with a hot-melt adhesive powder. The film is then cured and can be heat-pressed onto various fabrics. Unlike DTG (Direct-to-Garment) printing, which requires pre-treatment and works best on cotton, DTF printing adheres to a wide range of materials, including cotton, polyester, blends, and even nylon and leather.
How Does DTF Printing Work?
The DTF printing process involves several key steps:
- Design Preparation: Create your artwork in a graphic design software and mirror it horizontally.
- Printing: The design is printed onto a PET film using a DTF printer with CMYK and white inks.
- Powder Application: While the ink is still wet, a hot-melt adhesive powder is applied evenly over the print.
- Curing: The film is heated to melt the powder, creating a dry, tack-free surface.
- Heat Pressing: The film is placed on the fabric and heat-pressed to transfer the design.
- Peeling: After cooling, the film is peeled away, leaving a vibrant, durable print.
This process allows for intricate details and gradients without the need for multiple screens or color separations.
Why Choose DTF Printing?
There are several compelling reasons to consider DTF printing for your custom apparel projects:
- Versatility: Works on almost any fabric, including cotton, polyester, blends, and even treated nylon.
- No Weeding: Unlike vinyl cutting, there's no tedious weeding involved.
- Full-Color Prints: Achieve photographic-quality images with fine details and gradients.
- Durability: Prints are wash-resistant and stretchable without cracking.
- Cost-Effective for Short Runs: Ideal for small batches or one-off custom items.
- Quick Turnaround: From design to finished product in under an hour.
For small businesses, DTF printing opens up opportunities to offer custom apparel without large upfront investments in screen printing equipment.
Materials and Equipment Needed
To get started with DTF printing, you'll need the following:
- DTF Printer: A dedicated printer that uses DTF inks (CMYK + White).
- DTF Inks: Water-based pigment inks designed for DTF printing.
- PET Film: Special transfer film with a matte side for printing.
- Hot-Melt Adhesive Powder: Typically TPU-based, available in fine or coarse grades.
- Heat Press: For curing the powder and transferring the design.
- Heat Gun or Oven: Optional for curing powder if not using a heat press.
- Design Software: Such as Adobe Photoshop, Illustrator, or free alternatives like GIMP or Inkscape.
While the initial investment can be significant, the versatility and low cost per print make DTF printing attractive for those serious about custom apparel.
Step-by-Step DTF Printing Process
1. Designing Your Artwork
Start with a high-resolution image (300 DPI recommended). Mirror the design horizontally because the film will be flipped during transfer. Ensure your design has transparent backgrounds where needed, and use CMYK color mode for accurate colors.
2. Printing on Film
Load the PET film into your DTF printer with the matte side facing the printhead. Print the design using the printer's software, which will lay down white ink first (if required) and then CMYK colors. The white ink acts as a base for vibrant colors on dark fabrics.
3. Applying Adhesive Powder
While the ink is still wet, sprinkle the hot-melt powder evenly over the printed area. Gently shake off excess powder. You can use a powder shaker for more even distribution. The powder should stick only to the wet ink.
4. Curing the Powder
Place the film in a heat press or oven at around 160°C (320°F) for 2-3 minutes, or until the powder melts and becomes glossy. This step is crucial for creating a durable bond. Avoid overheating, which can cause the film to warp.
5. Heat Pressing onto Fabric
Preheat your heat press to 160-170°C (320-340°F). Place the cured film onto the fabric with the design facing up. Press for 10-15 seconds with medium pressure. For best results, use a Teflon sheet or parchment paper over the film.
6. Peeling and Finishing
Allow the transfer to cool completely before peeling off the film. Peel slowly at a low angle. If any part of the design lifts, press again for a few seconds. For extra durability, you can press the design again after peeling (post-press) for 5 seconds.
Tips for Successful DTF Printing
- Test Your Settings: Each printer and powder may require slightly different settings. Start with small test prints.
- Control Humidity: High humidity can affect powder adhesion. Work in a dry environment.
- Use Quality Supplies: Cheap film or powder can lead to poor results. Invest in reputable brands.
- Store Film Properly: Keep PET film in a sealed bag to prevent moisture absorption.
- Pre-Press Fabric: Remove wrinkles and moisture from the fabric before pressing.
- Clean Your Printer: Regular maintenance prevents clogged nozzles and ensures consistent prints.
Common Challenges and Solutions
Even with the best equipment, you might encounter issues. Here are some common problems and how to fix them:
- Faded or Patchy Prints: May be due to clogged nozzles or insufficient ink. Run a nozzle check and clean if necessary.
- Powder Not Sticking: Ensure the ink is wet when applying powder. If too dry, increase ink density or humidity.
- Cracking After Wash: Usually caused by under-curing or insufficient pressure during transfer. Increase curing time or pressure.
- Film Not Peeling Cleanly: Let it cool longer. If still sticky, the powder may be under-cured.
With practice, you'll learn to troubleshoot quickly and achieve consistent results.
Applications of DTF Printing
DTF printing is not limited to t-shirts. Its versatility makes it suitable for:
- Custom apparel: t-shirts, hoodies, jeans, jackets
- Sportswear: jerseys, leggings, shorts
- Accessories: tote bags, hats, socks
- Home decor: pillowcases, aprons, canvas shoes
- Promotional items: corporate gifts, event merchandise
If you can heat press it, you can probably DTF print it.
Frequently Asked Questions
How long does a DTF print last?
With proper application and care, a DTF print can last as long as the garment itself. It withstands repeated washing without fading or cracking. Turn the garment inside out and wash in cold water to extend its life.
Can I DTF print on 100% polyester?
Yes, DTF printing works well on polyester, including blends. However, polyester requires lower heat press temperatures (around 150°C) to prevent dye migration. Always test a small area first.
Do I need a special printer for DTF?
While you can convert some inkjet printers to DTF, dedicated DTF printers are recommended for best results. They handle white ink and produce consistent output.
Is DTF printing cost-effective for small businesses?
Absolutely. The low setup cost and ability to print single items make DTF printing ideal for small businesses, especially those offering personalized products.
What is the difference between DTF and DTG?
DTF prints on a film and then transfers to fabric, while DTG prints directly onto the garment. DTF works on more fabric types and doesn't require pre-treatment, but DTG may offer a softer feel on cotton.
With its versatility and vibrant results, DTF printing is a game-changer for custom apparel. Whether you're a hobbyist or a business owner, mastering this technology can open up a world of creative possibilities. So why not give it a try? Your next custom creation could be just a print away.