
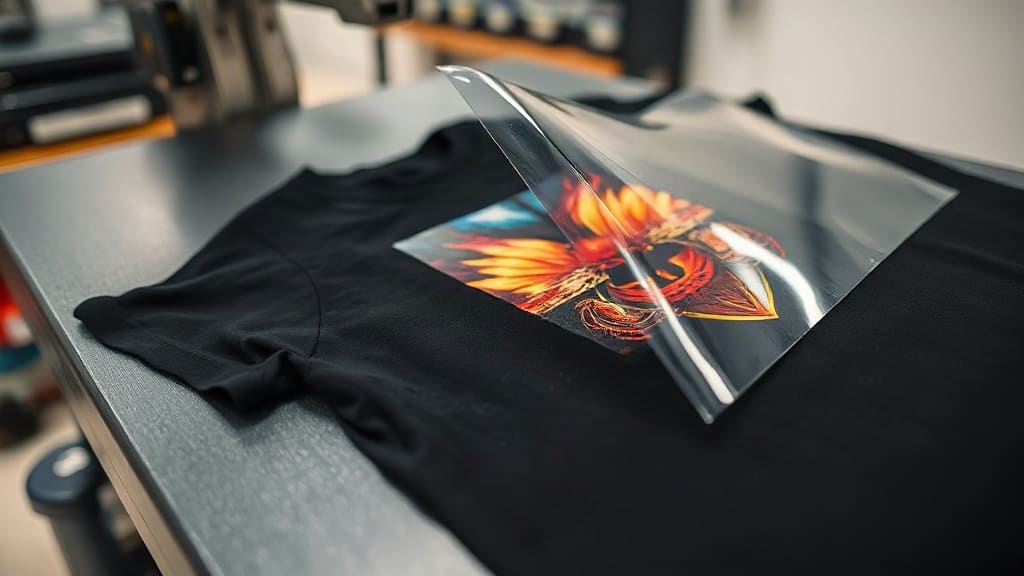
If you're in the custom printing world, you've likely heard about DTF transfers. This innovative method has taken the industry by storm, offering a flexible and cost-effective way to create vibrant, durable designs on various fabrics. In this comprehensive guide, I'll walk you through everything you need to know about DTF transfers, from the basics to advanced tips that will help you achieve professional results.
What Are DTF Transfers?
DTF stands for Direct to Film. It's a printing technique where a design is printed onto a special film, coated with adhesive powder, and then heat-pressed onto the final substrate. Unlike traditional screen printing or heat transfer vinyl, DTF transfers allow for full-color, high-detail prints without the need for screens or weeding. This makes them incredibly versatile and user-friendly.
How Do DTF Transfers Work?
The process begins with printing your design onto a PET film using a DTF printer. The printer uses CMYK plus white ink to create a vibrant, opaque print. After printing, a hot-melt adhesive powder is applied to the wet ink. The powder is then cured at a specific temperature, allowing it to melt and bond with the ink. Once cured, the film is ready to be transferred onto your chosen fabric using a heat press.
Step-by-Step Process
- Print your design: Use a DTF printer to print your design onto the film. Ensure the white ink layer is printed on the backside for proper color vibrancy.
- Apply adhesive powder: While the ink is still wet, sprinkle the adhesive powder over the entire printed area. Shake off excess powder.
- Pre-cure: Heat the film at around 120-140°C (248-284°F) for about 2-3 minutes to melt the adhesive powder and bond it to the ink.
- Transfer: Place the film onto your garment with the ink side down. Apply heat and pressure using a heat press, typically at 160-170°C (320-338°F) for 10-15 seconds.
- Peel: After pressing, let the film cool slightly, then peel it off to reveal your print.
Why Choose DTF Transfers?
DTF transfers offer several advantages over other methods. They work on a wide range of fabrics, including cotton, polyester, blends, and even nylon. The prints are soft to the touch, stretchable, and highly durable, withstanding numerous washes without cracking or fading. Additionally, the setup cost is lower than screen printing, making them ideal for small batches or custom orders.
Comparison with Other Methods
- Screen Printing: High setup costs, not cost-effective for low quantities, but excellent for bulk orders.
- Heat Transfer Vinyl (HTV): Requires weeding, limited to solid colors, and less detailed designs.
- Sublimation: Only works on polyester or light-colored fabrics, and requires special coatings.
In contrast, DTF transfers combine the best of both worlds: full-color detail like sublimation, but with the versatility of HTV, and no weeding required.
Essential Equipment and Supplies
To get started with DTF transfers, you'll need a few key items. First, a DTF printer, which is essentially a modified inkjet printer that uses pigment inks and supports white ink circulation. You'll also need a heat press, PET films, adhesive powder, and of course, the garments or items to print on.
Choosing the Right Printer
Invest in a reliable DTF printer from a reputable brand. Look for models with built-in white ink circulation to prevent clogging. Some popular options include the Epson F2100 (converted) or specialized DTF printers from manufacturers like Riicolorbird or Kodak.
Quality of Materials Matters
The quality of your films and powder directly impacts the final result. High-quality PET films ensure proper ink adhesion and easy peeling. Similarly, a good adhesive powder should have fine particles that melt uniformly. Always test different brands to find what works best for your setup.
Tips for Perfect DTF Transfers
Here are some practical tips I've learned from experience that will help you achieve flawless prints every time.
Optimize Your Designs
- Use high-resolution images (at least 300 DPI) to avoid pixelation.
- Incorporate white underbase for transparent or colored garments to ensure vibrancy.
- Keep the design size appropriate for the garment area to avoid stretching or distortion during pressing.
Printing and Curing
- Calibrate your printer regularly to ensure color accuracy.
- Set the correct temperature and time for pre-curing and final pressing. Too much heat can cause scorching, while too little may result in poor adhesion.
- Use a Teflon sheet or parchment paper over the film during pressing to protect it from direct heat.
Washing and Care
To prolong the life of your DTF prints, advise your customers to turn garments inside out before washing, use cold water, and avoid harsh detergents. Air drying is recommended, but if using a dryer, use a low heat setting.
Common Mistakes to Avoid
Even experienced printers can make mistakes. Here are some common pitfalls and how to avoid them.
- Incorrect pressure: Too much pressure can cause the design to crack, while too little can lead to poor adhesion. Adjust your press to medium pressure.
- Peeling too early: Always wait for the film to cool slightly before peeling. Peeling while hot can cause the ink to pull away.
- Poor white ink management: White ink settles quickly; ensure your printer has a circulation system and shake the cartridges regularly.
Frequently Asked Questions
Can I use DTF transfers on dark shirts?
Yes, absolutely. In fact, DTF transfers excel on dark fabrics because the white ink underbase provides a solid foundation, making colors pop. Just ensure your design includes a white layer.
How many washes can a DTF transfer withstand?
With proper care, a high-quality DTF transfer can withstand 50 washes or more without significant fading or cracking. The key is to use quality materials and follow correct curing and pressing parameters.
What is the difference between DTF and DTG?
DTG (Direct to Garment) prints directly onto the shirt using a specialized inkjet printer. DTF prints onto a film first, then transfers. DTF offers more versatility in terms of fabric types and doesn't require pre-treatment, making it easier for small batches.
Do I need a special heat press for DTF?
No, you can use any standard heat press. However, you must ensure it provides uniform pressure and temperature. Some prefer a clamshell press for ease, but both work well.
Can I use DTF transfers on materials other than apparel?
Yes, DTF transfers can be applied to tote bags, aprons, caps, and even hard surfaces like ceramics if you use the appropriate adhesive. But for best results, stick to fabrics that can tolerate the heat press temperature.
Conclusion
DTF transfers have revolutionized the custom printing industry, offering a perfect blend of quality, versatility, and affordability. Whether you're a hobbyist or a professional, mastering this technique can open up new opportunities for your business. With the right equipment, materials, and a bit of practice, you'll be producing stunning prints that customers will love. So go ahead, give DTF transfers a try, and see the difference for yourself.